How to create a Subscription Popup (LightBox Popup)
Instant Popup Builder includes a free subscription popup template and advanced subscription features for users who want to build effective email-collection campaigns.
The core plugin provides a standard Subscription template that allows you to collect emails from your website visitors. For many website owners, this basic functionality is sufficient. However, with the Subscription Pro Extension, you can unlock additional templates and advanced features to turn your subscription popup into a complete campaign builder.
This article explains how to create a newsletter sign-up popup using both the core plugin and the Pro Extension.
Note: The Subscription Popup Premium feature is available through a Premium Extension of Instant Popup Builder. Get this Extension.
How to Create a Subscription Popup (Free)
Navigate to the Popup Builder
Once you have Instant Pop-up Builder Installed, go to: Instant Popups > Add New
Select Popup Type
From the pop-up type options, choose: Subscription Popup
- If you are using the free core plugin, only the Basic Newsletter Template will be available.
- Additional professionally-designed templates are available in the Subscription Pro Extension.
Add a Popup Name
Enter a name for your pop-up.
This is for internal use only and will not be displayed to website visitors.

Customizing Your Subscription Popup
Once you select your template, you can customize the following:
Popup Title: Displayed to end users.
Examples:
- Subscribe to Our Newsletter
- Join & Receive 25% Off Your First Order!
Description
Add supporting text explaining the benefit of subscribing.
Example: Get weekly updates, exclusive offers, and more.
Form Fields
Customize form fields such as
- Name
Button Text & Style
Customize:
- Button label (e.g., Subscribe, Join Now)
- Button color
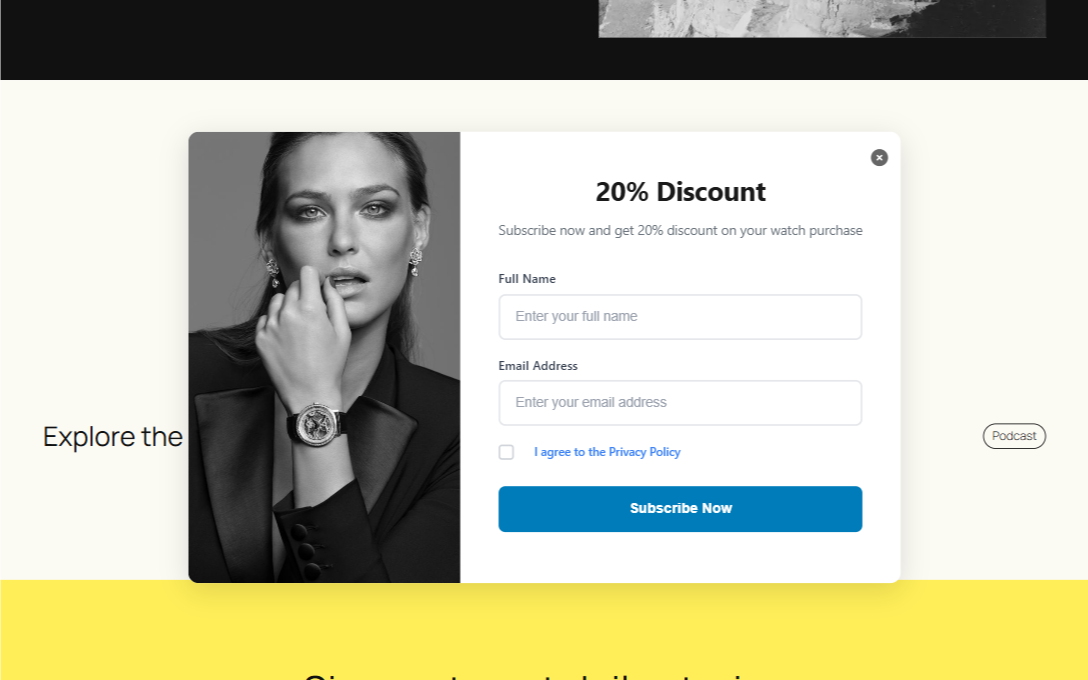
Popup Image
Upload an optional image.
You can place it on either the left or right side of the popup (for lightbox layouts).

Subscription Specific Settings
- Privacy Policy
Show Privacy Policy Checkbox– Display a checkbox for users to agree to your privacy policy. - Terms & Conditions
Show Terms & Conditions Checkbox– Add a checkbox for users to accept terms before subscribing. - Subscription Behavior
Prevent popup from showing again if user is subscribed– Once subscribed, the popup won’t reappear for that user.Enable Email Verification– Users must verify their email address before the subscription is finalized.
Email Feedback Messages
- Success Message:
“Thank you for subscribing!” – This message appears after a successful subscription. - Error Message:
“Something went wrong. Please try again.” – This message appears if the submission fails.
General Popup Settings
In addition to subscription-specific options, you may adjust:
- Display rules
- Triggers
- Targeting
- Design preferences
These control how and when the popup appears to visitors.
Publishing Your Popup
When your design and settings are complete:
-
Click Publish.
Important: Publishing alone does not make the popup visible on your website. You must enable the toggle switch to make the popup publicly available.
Pro Tips
Use subscription popups for:
- Newsletter signups
- Product launch announcements
- Exclusive discounts or lead magnets
Combine it with targeting rules and timing triggers to maximize conversions!
With Instant Popup Builder, you can quickly create a subscription popup to grow your email list. The free version includes essential tools, while the Pro Extension adds advanced templates and campaign-focused features.