
How to Increase Lead Generation and Sales This Christmas
The holiday season is a golden opportunity for businesses to maximize revenue, and Christmas is often the peak of this period. With more consumers shopping
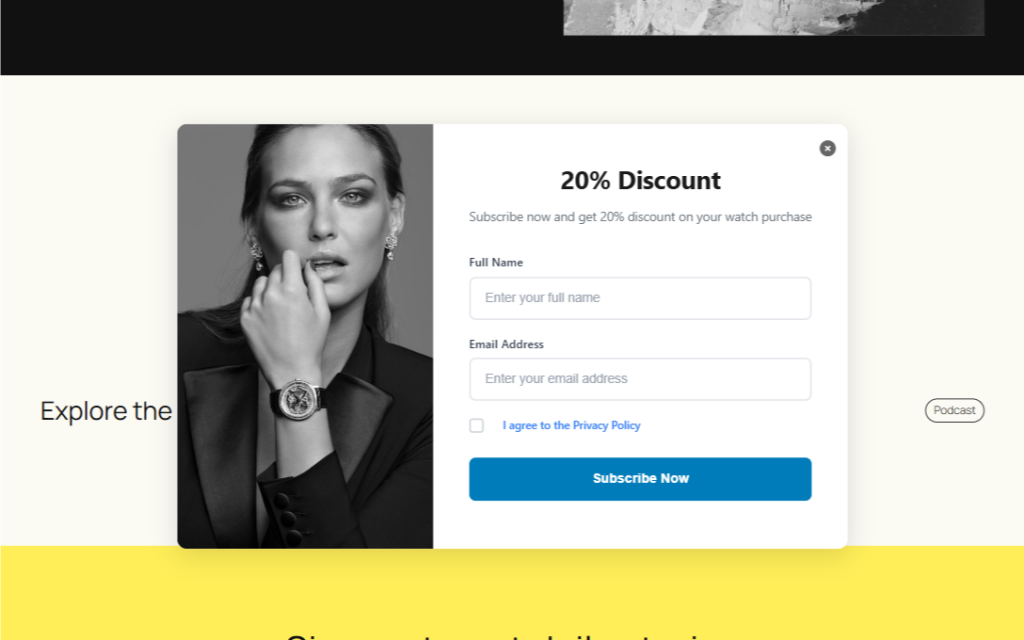
In today’s digital age, automation has become the backbone of efficient marketing, especially for small and medium-sized businesses that rely on platforms like WordPress. With tools like Instant Popup Builder and its powerful Campaign Builder, businesses can now set up campaigns that work seamlessly in the background. In this guide, we’ll explore how to automate a campaign using Campaign Builder and how it can streamline your marketing efforts, from newsletter subscriptions to discount offers.
Campaign Builder is a feature within the Instant Popup Builder plugin designed to simplify the process of managing marketing campaigns on WordPress. Once configured, it can automatically trigger popups, email responses, and newsletters based on user actions, offering a hands-free way to engage with your audience.
Whether you’re running a small eCommerce store or a personal blog, Campaign Builder gives you the tools to:
Campaign Builder isn’t just a fancy tool—it’s a comprehensive solution for:
Before automating your campaigns, ensure you have the Instant Popup Builder Core Plugin installed from the official WordPress repository.
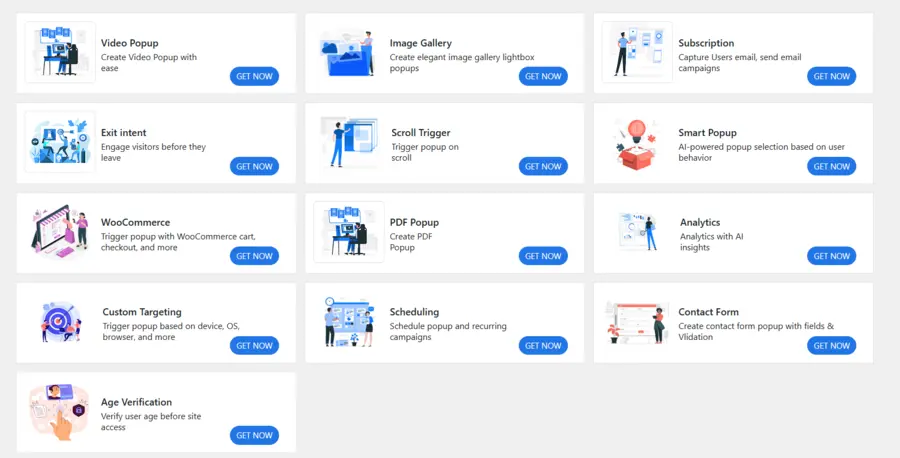
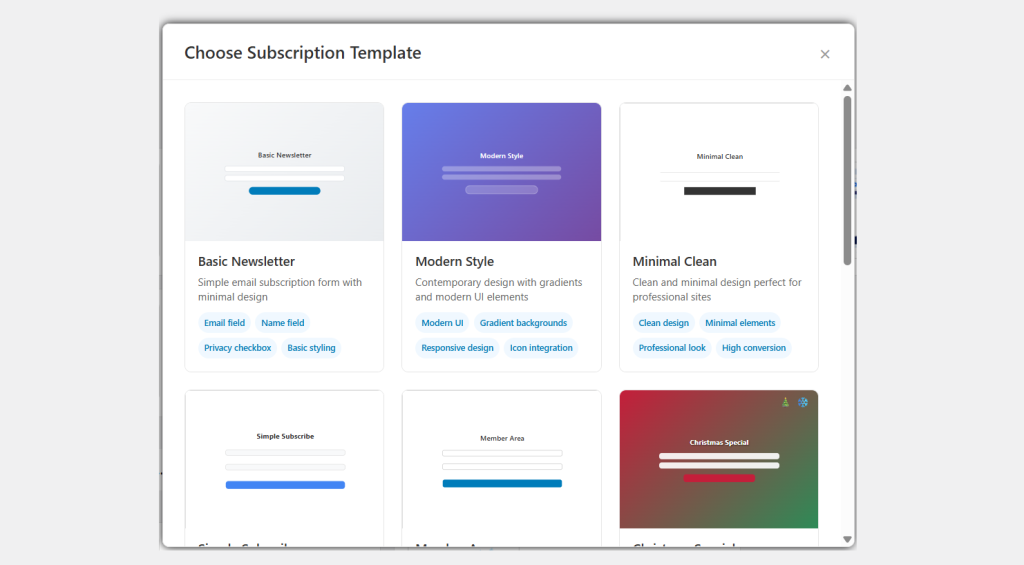
Once your subscription extension is active, follow these steps:
Now that your popup is live, it’s time to automate the workflow using Campaign Builder.
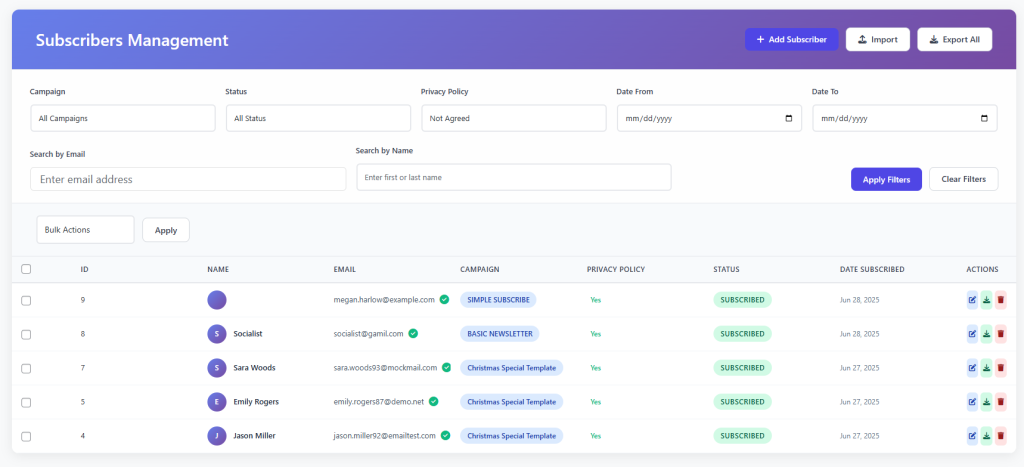
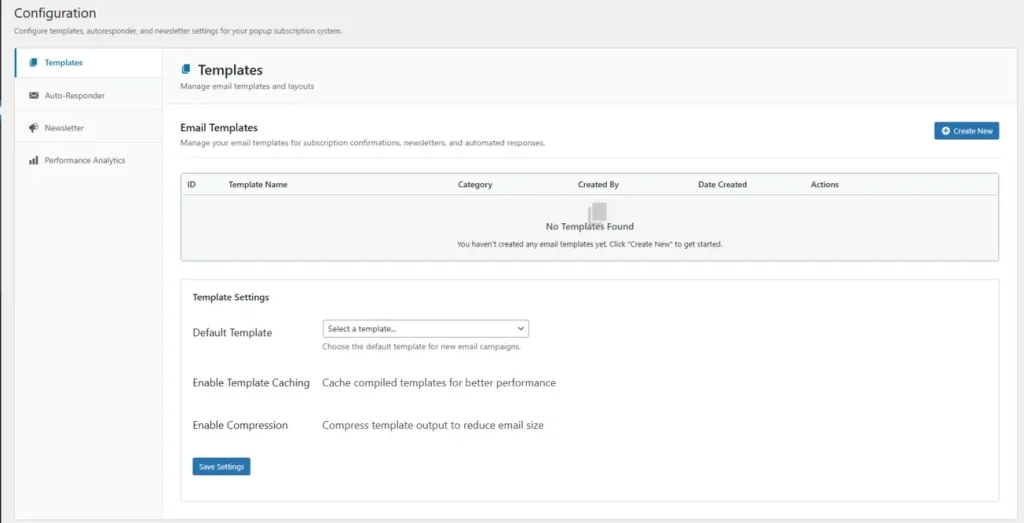
Automating campaigns using Campaign Builder comes with several advantages:
“Campaign automation is essential for scaling your digital marketing without scaling your team. Tools like Instant Popup Builder make this possible for WordPress users,” says Sarah Lane, a digital marketing strategist.
After setting everything up:
Once tested, your campaign is fully automated. Just sit back and let the Campaign Builder do the work.
Automating your marketing workflow is no longer a luxury—it’s a necessity. Learning how to automate a campaign using Campaign Builder empowers you to capture leads, increase conversions, and grow your brand with minimal effort. With Instant Popup Builder’s intuitive tools, even non-tech-savvy users can build smart, responsive, and effective campaigns in just a few steps. Start today, and let automation drive your marketing success.

The holiday season is a golden opportunity for businesses to maximize revenue, and Christmas is often the peak of this period. With more consumers shopping
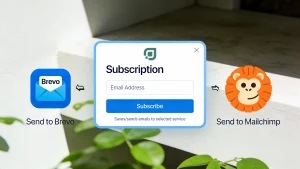
Managing email leads shouldn’t require complicated setups or multiple plugins. The new direct email integration update for Subscription Popup Pro (Extension), built for Instant Popup
In the world of digital marketing, email remains one of the most powerful tools to reach and retain customers. A subscription lightbox popup is a
In the ever-growing digital marketplace, a strong online presence is paramount. A website serves as your digital storefront, providing visitors with information and facilitating interaction.