Best WordPress Popup Builder in 2026
Popups remain one of the most effective tools in digital marketing, helping website owners capture leads, promote offers, and increase conversions. With the evolving landscape

Adding popups to your WordPress site can effectively capture visitor attention, promote offers, or enhance user engagement. Follow this easy guide to create a basic text popup using the free Instant Popup Builder plugin on WordPress.
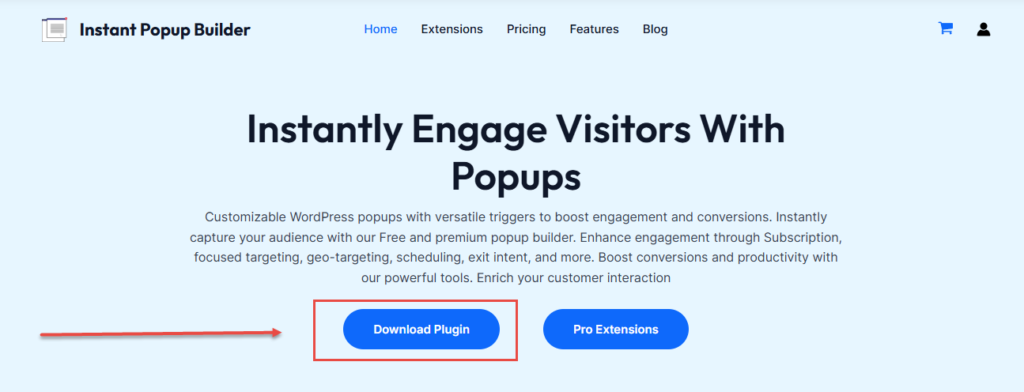
To start, search for “Instant Popup Builder” in your preferred search engine. Once on the plugin’s website, click “Download Plugin” to start the download.

After downloading, access your WordPress dashboard. Under Plugins > Add New, click on Upload Plugin. Select the downloaded plugin file, then click Install Now. Once installed, activate the plugin.
After activation, the Instant Popup Builder option appears in the WordPress dashboard menu. Click Add New Popup to begin creating your first popup. The Popup Builder plugin offers options for various popup types, including text, image, and HTML. For this guide, we’ll focus on creating a text popup.
Select “Text” from the options, then click Next.
Popup Builder allows several closing options:
Display limitations enable you to control the frequency of the popup appearance. You can specify, for example, to show the popup only once every 30 days for each user.
Position your popup by selecting its location on the screen, such as Top Left, Mid Center, or Bottom Right.
Under the Design tab, customize the popup’s appearance:
Use advanced settings for more control:
After finalizing the settings, click Publish to activate the popup on your site. Preview it to ensure everything looks as expected.
With this simple setup, your popup is live and ready to engage users! Experiment with different settings to maximize effectiveness, and feel free to reach out with feedback. Happy pop-up building!

Popups remain one of the most effective tools in digital marketing, helping website owners capture leads, promote offers, and increase conversions. With the evolving landscape

The holiday season is a golden opportunity for businesses to maximize revenue, and Christmas is often the peak of this period. With more consumers shopping

Managing email leads shouldn’t require complicated setups or multiple plugins. The new direct email integration update for Subscription Popup Pro (Extension), built for Instant Popup

In the world of digital marketing, email remains one of the most powerful tools to reach and retain customers. A subscription lightbox popup is a